![]()
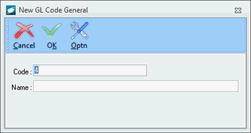
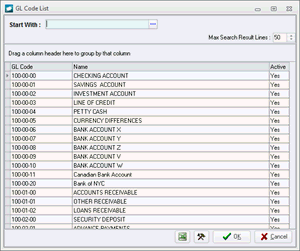
General Ledger Codes Setup
![]()
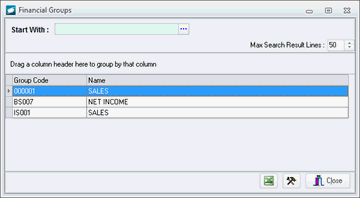
General Ledger Codes Setup


Rate field – Identify the exchange rate related to the converted currency (in terms of the base currency) for the date of the beginning balance.
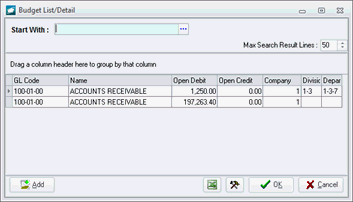
Budget grid
Period column – Displays the period numbers (as setup in the Accounting Setup window).
From column – Displays the start date of the period (as setup in the Accounting Setup window).
To column – Displays the end date of the period (as setup in the Accounting Setup window).
Budget column – Enter the period budget values for the GL code.
Forecast column – Enter the period forecast values for the GL code.
Actual column – Displays the period actual values for the current fiscal year.
Last Year column – Displays the period actual values for the previous year.
-2 column – Displays the period actual values for two fiscal years ago.
-3 column – Displays the period actual values for three fiscal years ago.
|
AEROSPACE • DEFENSE • ELECTRONICS • POWER SYSTEMS • METALS• DEFENSE • ELECTRONICS • POWER SYSTEMS • METALS |
||
|
|
|
General Ledger Codes Setup |