![]()
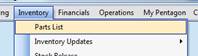
Calibrated Tool Setup
![]()
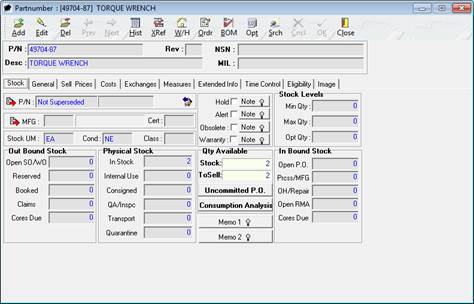
Calibrated Tool Setup
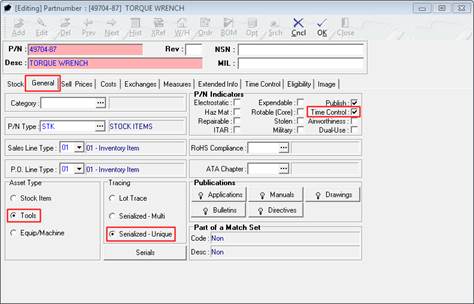
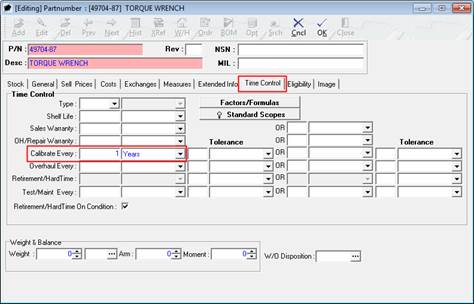
Identify that particular part numbers should be considered a tool and requires periodic calibration.

|
AEROSPACE • DEFENSE • ELECTRONICS • POWER SYSTEMS • METALS• DEFENSE • ELECTRONICS • POWER SYSTEMS • METALS |
||
|
|
|
Calibrated Tool Setup |