Purpose:
To
create a new RFQ[acronym for 'request for quote'] (n) a document sent to vendors requesting pricing and terms for a specific quanitity of items that your organization needs. from
an existing sales quote to be sent to a vendor.
There are four (4) methods for converting RFQs from an existing sales
quote.
- From a new RFQ:
[link]Create Request for Quote (Not
Converted)
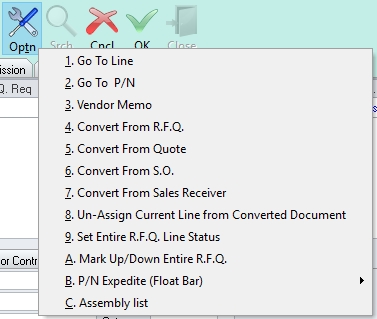
- Left-click the Optn
(Option) button and a menu will appear.
- Left-click and the Quotation
search window will appear.
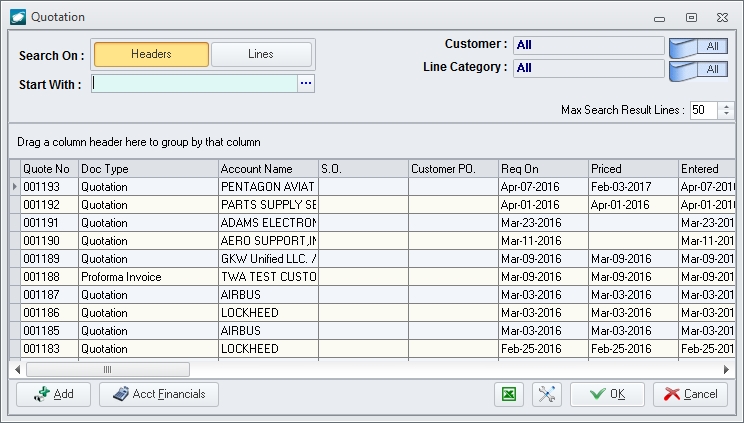
- The sales quote from which lines will
be converted may be selected by double-clicking the applicable record or by highlighting the
applicable record and left-clicking the OK
button.
The [Source] Quotation Lines Conversion
window will appear.

- Select the lines that should be converted
from the sales quote.
NOTE: Multiple
lines may be selected by (1) left-clicking a single line, holding the ctrl
key, and left-clicking each additional line (each line clicked will be
selected);
(2) left-clicking a single line, holding the shift
key, and left-clicking another line (all lines between the first and second
lines clicked will be selected);
(3) left-click the Select All
button on the [Source] Quotation Lines
Conversion window tool bar.
- Left-click the OK
button to convert the selected lines into the existing document.
After the lines have been converted, the document status of the
RFQ will change to Pending and
the line status of all lines will initially be Open
(O).
- After the RFQ is printed (link pending),
the document status of the RFQ will change to Open
and the line status of all lines will change to Vendor
Request (VR).
- To a single vendor
from the existing sales quote:
- Left-click the Optn
(Option) button and a menu will appear.

- Left-click and the Vendors
List search window will appear.
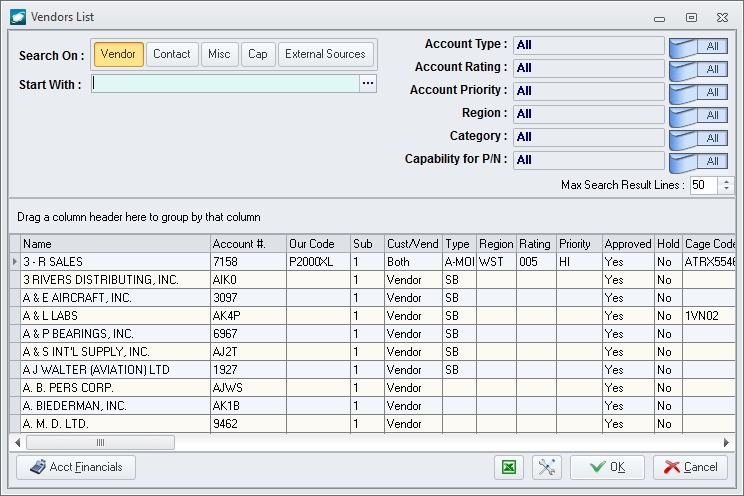
- The vendor for which an RFQ is to be
created may be selected by double-clicking the applicable record or by highlighting the
applicable record and left-clicking the OK
button.
An Information dialog box will
appear:
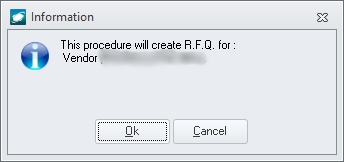
- Left-click the OK
button; the RFQ will be created and the RFQ
Print List window will appear.
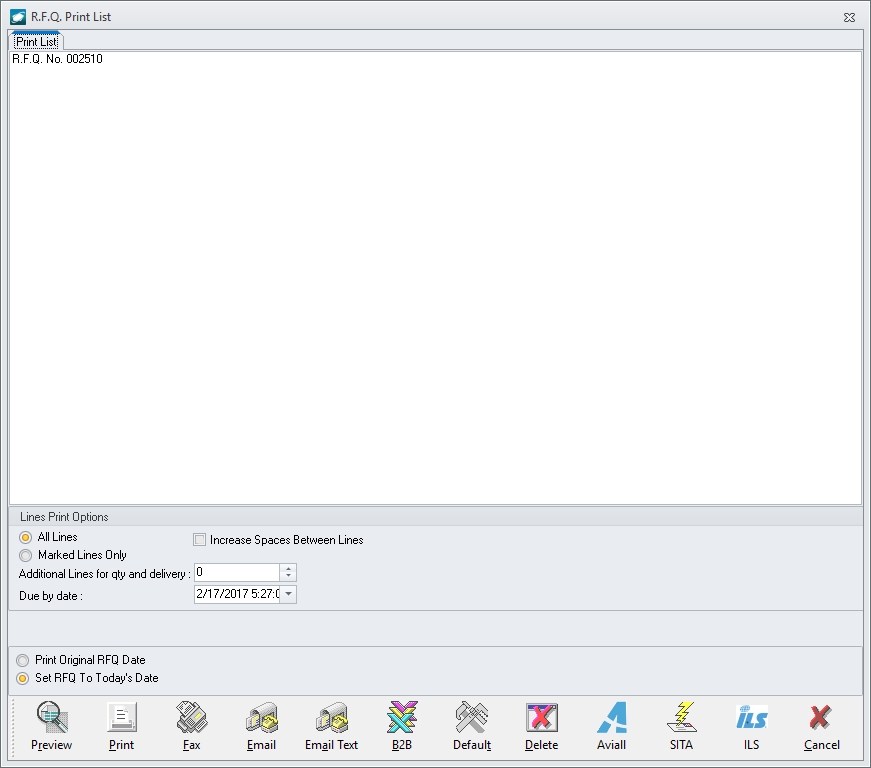
- Left-click the Preview
button; the report will be created and will appear on the screen.
NOTE: This
action will not change the document status or line statuses on
the RFQ created.
- Left-click the Print
button:
- The Print
window will appear.
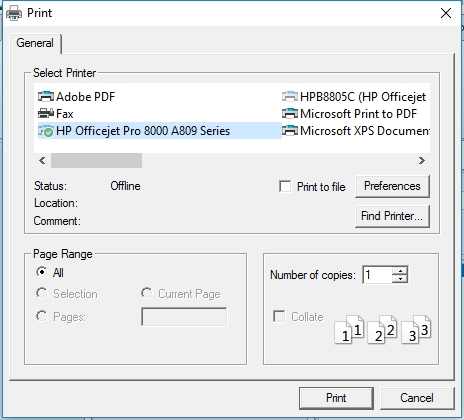
- Choose the appropriate printer, configure
the print job as required and left-click the Print
button to print the report.
NOTE: After
the RFQ is printed (link pending),
the document status of the RFQ will change to Open
(O) and the line status of all lines will change to
Vendor Request (VR).
- To all vendors associated with a particular
category
In order to properly utilize this method,
applicable vendors
should be associated with categories.
- Left-click the Optn
(Option) button and a menu will appear.
- Left-click and the Inventory
Category List search window will appear.

- Categories may be selected by highlighting the applicable record(s) utilizing the left-click,
the Mark All button and/or the
UnMark All button and then left-clicking
the OK button.
The Shoot RFQ by Category window
will appear listing the vendors associated with the selected categories
and the dealers associated with those vendors.
[link]see
Associate
Dealers to Manufacturers for instructions
- Using the AutoSourcing feature
[link]AutoSourcing